One of the projects I’ve done so far during the 2021 Sydney COVID lockdown is properly setting up Home Assistant with some IoT devices around the house.
CheerLights
I very much wanted to integrate the CheerLights project into Home Assistant so I could have lights at home change colour in sync with CheerLights, and hence lights all over the world, as controlled by Twitter.
Quite a few years ago, I put some LEDs on the back deck for christmas and wrote some code to control them, first using an Arduino Yún, then upgrading to a Raspberry Pi the following year. Both of these were quite janky (you can look at the code for the Pi version if you really want to, but I wouldn’t recommend it 😅), but both were able to set the deck lights to the CheerLights colour.
Coming back to the present and Home Assistant, you could use the REST integration to poll the ThingSpeak API for the CheerLights colour like I did in my previous project, but there’s a much more efficient way now supported by CheerLights: MQTT.
Message Queuing Telemetry Transport is a lightweight messaging protocol that allows a client to subscribe to a given “topic” and receive a notification when a message is sent to that topic. It runs over a simple persistent TCP connection. CheerLights runs an MQTT server at mqtt.cheerlights.com which publishes two topics: cheerlights, which contains the current colour name, and cheerlightsRGB, which contains the current colour hex code.
Getting it into HA
There’s a few ways to get the CheerLights MQTT into Home Assistant. The simplest is to use HA’s MQTT integration pointing to the mqtt.cheerlights.com broker on port 1883, however this will only work if you don’t use MQTT for anything else in HA.
If you already have a local MQTT broker running for Home Assistant, then you can bridge in the cheerlights topic with this addition to the Mosquitto config:
connection cheerlights
address mqtt.cheerlights.com
bridge_protocol_version mqttv50
notifications_local_only true
topic cheerlights in
Because I love to encrypt and IPv6 all the things, I made a mirror of the CheerLights feed on my own server, and so my home broker has a few different options:
address cheerlights-mirror.tugzrida.xyz:8883
bridge_cafile /etc/ssl/certs/ca-certificates.crt
My mirror supports secure MQTT on port 8883, and also MQTT over WebSockets on port 8884, which means it can be used in a web browser with the Paho JS MQTT library, as demonstrated on the mirror splash page.
Using the colour in HA
Anyway, back on track: to use the CheerLights colour in Home Assistant, I first created a template sensor by adding this to my configuration.yaml:
template:
  - trigger:
    - platform: mqtt
      topic: cheerlights
    sensor:
      name: CheerLights Colour RGB
      unique_id: sensor.cheerlights_colour_rgb
      icon: mdi:palette
      state: >
        {% if trigger.payload == "red" %}
          [255,0,0]
        {% elif trigger.payload == "green" %}
          [0,255,0]
        {% elif trigger.payload == "blue" %}
          [0,0,255]
        {% elif trigger.payload == "cyan" %}
          [0,255,255]
        {% elif trigger.payload == "white" %}
          [255,255,255]
        {% elif trigger.payload == "oldlace" %}
          [255,228,146]
        {% elif trigger.payload == "purple" %}
          [181,109,255]
        {% elif trigger.payload == "magenta" %}
          [255,0,255]
        {% elif trigger.payload == "yellow" %}
          [255,255,0]
        {% elif trigger.payload == "orange" %}
          [255,165,0]
        {% elif trigger.payload == "pink" %}
          [255,146,173]
        {% endif %}
You might wonder why I went this route instead of just using the cheerlightsRGB topic that already has the RGB hex code, and there’s two reasons:
- Home Assistant doesn’t accept colour values as hex
- Manually defining each colour allows them to be tweaked to work best with physical lights rather than on screen. Green, for example, doesn’t come from CheerLights as #00FF00 as you might expect, but rather a darker #008000, because the CSS colour “green” that it’s based on is actually a dark green
Now that we have an RGB value in Home Assistant, all that’s left is to make an automation. This can trigger on the state of sensor.cheerlights_colour_rgb and then call the light.turn_on service with the data attribute rgb_color: '{{ states("sensor.cheerlights_colour_rgb") }}'
Here’s my full automation, which also triggers on the deck LED strip being turned on, such that the strip will always show the CheerLights colour, but can be turned on and off as desired by other automations or manually:
alias: Maintain CheerLights colour on deck strip
trigger:
  - platform: state
    entity_id: sensor.cheerlights_colour_rgb
  - platform: state
    entity_id: light.deck_handrail_strip
    from: 'off'
    to: 'on'
condition:
  - condition: state
    entity_id: light.deck_handrail_strip
    state: 'on'
action:
  - service: light.turn_on
    target:
      entity_id:
        - light.deck_handrail_strip
    data:
      effect: Twinkle
      rgb_color: '{{ states("sensor.cheerlights_colour_rgb") }}'
mode: single
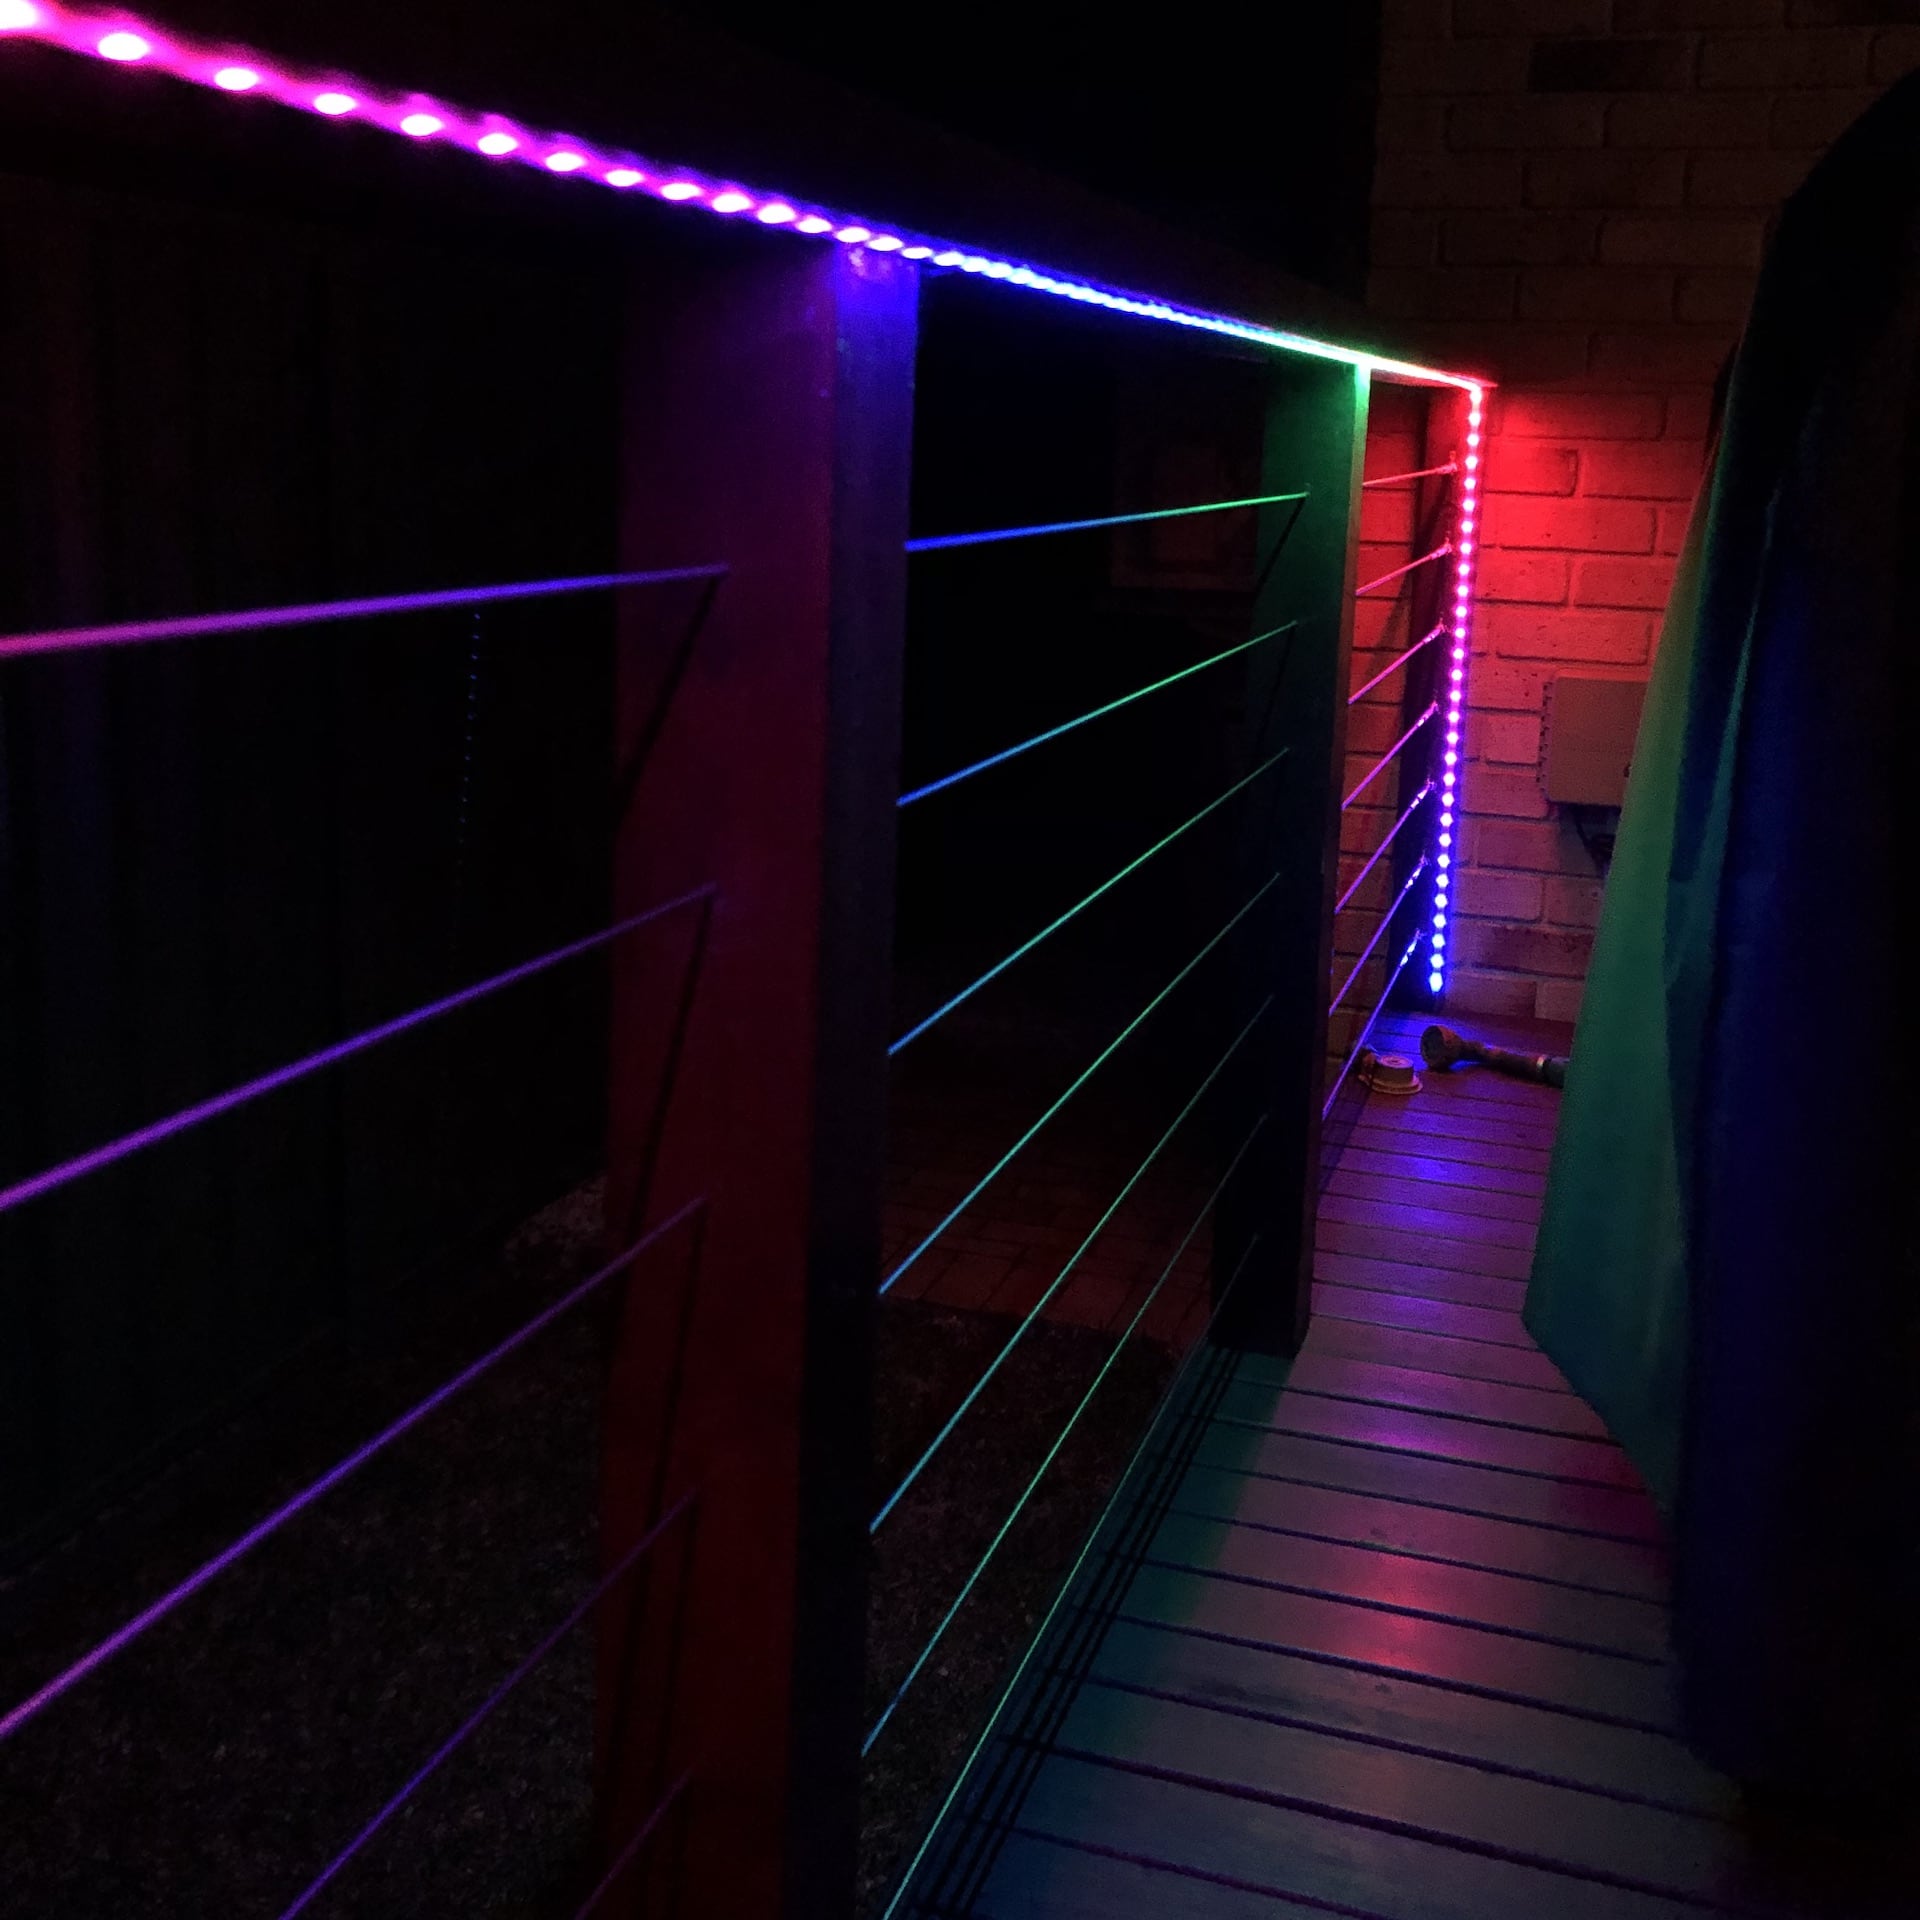
And finally, here’s the LEDs on the deck, which I upgraded to an addressable strip two years ago, and moved to an ESP32 running ESPHome last week:
Comments